Even though DIY culture is more prevalent than ...
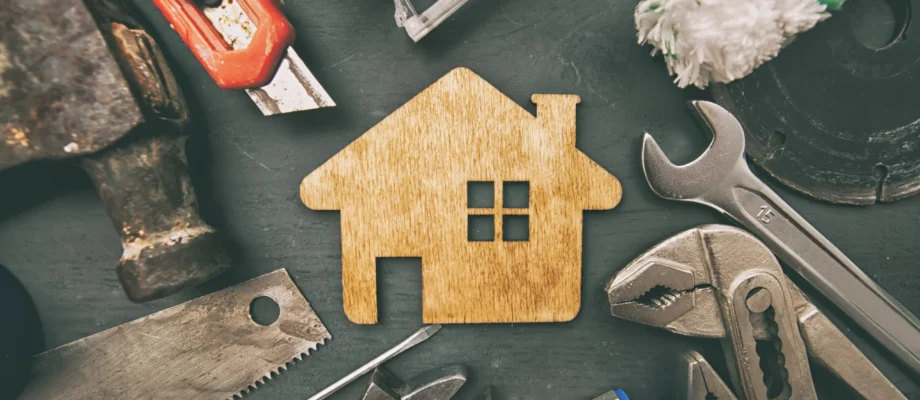

Even though DIY culture is more prevalent than ...

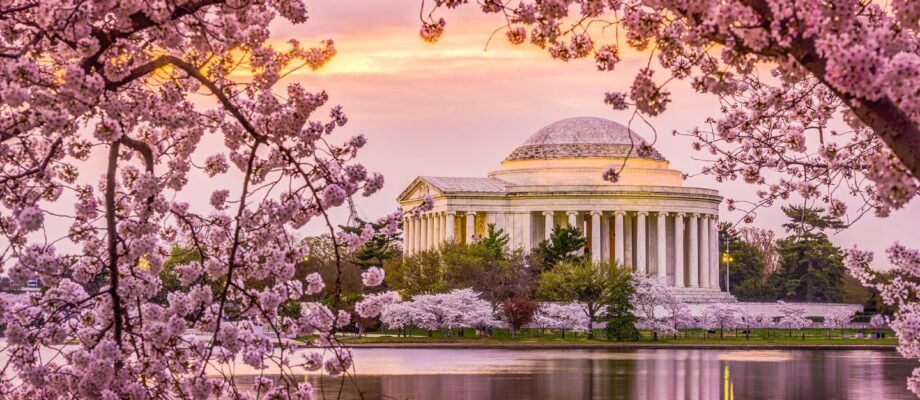
Every spring, Washington D.C. bursts into color ...

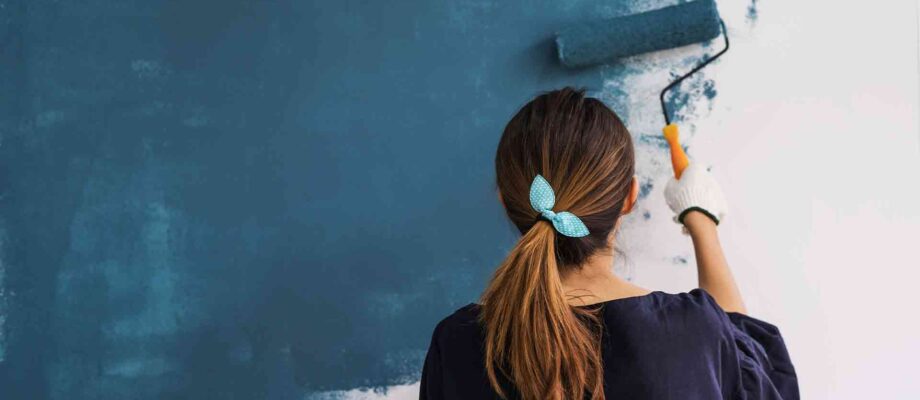
Making changes to your home can be fun. You can ...

If you’re going to be painting a room in your ...

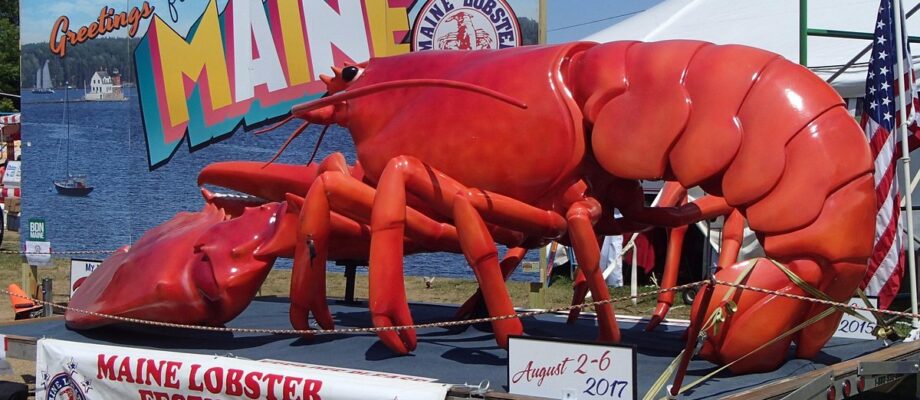
The Maine Lobster Festival is a colorful party all ...

There's no question about it—moving is up there ...
Hi and welcome to our blog! I’m Ally and this is my husband Dave. I love everything to do with writing, cooking, and design. I also have a love for DIY crafts and projects.